

前回の続編です。今回は、WSL Ubuntu 環境下で ASP.NET Core App に要求を転送するように Nginx をリバースプロキシサーバーとして設定します。

ローカル環境
| Client OS | Windows10 |
| WSL | Ubuntu 18.04.2 LTS |
| Editor | Visual Studio Code |
| SDK | ASP.NET Core 3.1 |
| Web Server | Nginx |
| RDBMS | SQLite 3.22.0 |
WSL に Ubuntu 18.04.2 LTS をインストールする方法は、こちらの記事を参考にしてください。

Nginx
Nginx は、OSS な Webサーバです。ASP.NET Core のプロジェクトテンプレートには、Kestrel(Web サーバー)が含まれていますが、なぜ Nginx をリバースプロキシサーバーとして設定する必要があるのでしょう。これについては、Microsoft のドキュメントに、以下の説明がありました。
Kestrel は、ASP.NET Core から動的なコンテンツを提供するのに役立ちます。 ただし、Web サーバーとしての機能は、IIS、Apache、Nginx などのサーバーと比べると制限されます。 リバース プロキシ サーバーは、静的コンテンツ サービス、要求のキャッシュ、要求の圧縮、HTTP サーバーからの HTTPS 終了などの作業の負荷を軽減します。
インストール
コマンドプロンプトを起動して、次のコマンドを実行します。
|
1 2 3 4 5 6 7 8 9 10 11 12 13 14 15 16 17 18 19 20 21 22 |
// WSL Ubuntu に接続 wsl // OS のバージョンを確認 cat /etc/os-release NAME="Ubuntu" VERSION="18.04.2 LTS (Bionic Beaver)" ID=ubuntu ID_LIKE=debian PRETTY_NAME="Ubuntu 18.04.2 LTS" VERSION_ID="18.04" HOME_URL="https://www.ubuntu.com/" SUPPORT_URL="https://help.ubuntu.com/" BUG_REPORT_URL="https://bugs.launchpad.net/ubuntu/" PRIVACY_POLICY_URL="https://www.ubuntu.com/legal/terms-and-policies/privacy-policy" VERSION_CODENAME=bionic UBUNTU_CODENAME=bionic // 以下のコマンドを実行してインストール sudo apt update sudo apt install nginx // バージョンを確認 sudo nginx -v nginx version: nginx/1.14.0 (Ubuntu) |
設定
userディレクティブ
nginx.conf にある userディレクティブ(ワーカープロセスで使用されるユーザーとグループの資格情報を定義) 確認します。
|
1 2 |
// nginx.conf を確認 -> userディレクティブ: www-data cat /etc/nginx/nginx.conf |
自己証明書作成
TLS で接続するために、自己証明書を作成しておきます。
|
1 2 3 |
// 自己証明書を作成 sudo mkdir -p /etc/pki/tls sudo openssl req -x509 -nodes -days 365 -newkey rsa:2048 -keyout /etc/pki/tls/server.key -out /etc/pki/tls/server.crt |
serverディレクティブ
serverディレクティブ を設定します。
|
1 2 |
// serverディレクティブを設定 sudo nano /etc/nginx/sites-available/default |
|
1 2 3 4 5 6 7 8 9 10 11 12 13 14 15 16 17 18 19 |
# SSL/TLS の設定 listen 4434 ssl; ssl_certificate /etc/pki/tls/server.crt; ssl_certificate_key /etc/pki/tls/server.key; location / { # First attempt to serve request as file, then # as directory, then fall back to displaying a 404. #try_files $uri $uri/ =404; proxy_pass http://localhost:5000; proxy_http_version 1.1; proxy_set_header Upgrade $http_upgrade; proxy_set_header Connection keep-alive; proxy_set_header Host $host; proxy_cache_bypass $http_upgrade; proxy_set_header X-Forwarded-For $proxy_add_x_forwarded_for; proxy_set_header X-Forwarded-Proto $scheme; #proxy_set_header X-Forwarded-Proto $http_x_forwarded_proto; } |
まずは、全てのリクエストを Kestrel に転送するようにします。上記は Microsoft の Nginx 搭載の Linux で ASP.NET Core をホストする を参考にしていますが、try_files を変更しています。
デフォルトのコードのままだと ASP.NET Core identity の Identity エリアへルーティングされないのでコメントアウト。おそらく ASP.NET Cor 側のエリアルーティングの話だと思うので、これは ASP.NET Core MVC + ASP.NET Core identity(Razor クラスライブラリ) のテーマで取り上げたいと思います。

Nginx で SSL/TLS 通信を終了、http で Kestrel に転送させています。
HTTPS server プロトコルと暗号スイート
Nignx を HTTPS server として構成した場合のプロトコルのデフォルトは、「TLSv1 TLSv1.1 TLSv1.2」で、暗号スイートのデフォルトは、「HIGH:!aNULL:!MD5」です。
上記の「HIGH:!aNULL:!MD5」って何?と気になった方は、↓ をご覧ください。セキュリティについて、とても参考になる・使えるリファレンスをまとめています。
起動
次のコマンドを実行します。
|
1 2 3 4 5 6 7 8 9 10 11 12 13 14 15 16 |
// 設定ファイルを検証 sudo nginx -t nginx: the configuration file /etc/nginx/nginx.conf syntax is ok nginx: configuration file /etc/nginx/nginx.conf test is successful // 起動 sudo service nginx start * Starting nginx nginx [ OK ] // 下の引用を確認するためにプロセスを表示 sudo ps aux ・・・ root 1399 0.0 0.0 58076 460 ? Ss 00:15 0:00 nginx: master pr www-data 1401 0.0 0.0 58696 2016 ? S 00:15 0:00 nginx: worker pr www-data 1403 0.0 0.0 58696 2016 ? S 00:15 0:00 nginx: worker pr www-data 1404 0.0 0.0 58696 2016 ? S 00:15 0:00 nginx: worker pr www-data 1405 0.0 0.0 58696 1984 ? S 00:15 0:00 nginx: worker pr ・・・ |
nginx has one master process and several worker processes. The main purpose of the master process is to read and evaluate configuration, and maintain worker processes. Worker processes do actual processing of requests. nginx employs event-based model and OS-dependent mechanisms to efficiently distribute requests among worker processes. The number of worker processes is defined in the configuration file and may be fixed for a given configuration or automatically adjusted to the number of available CPU cores (see worker_processes).
SQLite
以下のコマンドを実行します。
|
1 2 3 4 |
// インストール sudo apt install sqlite3 // バージョンを確認 sqlite3 -version |
ASP.NET Core App 発行
前回作成した ASP.NET Core Web App の Startup.cs を変更して発行します。
Startup.cs
認証スキーム ミドルウェア(app.UseAuthentication() など)を呼び出す前に、UseForwardedHeaders メソッドを呼び出します。ミドルウェアを構成して、X-Forwarded-For および X-Forwarded-Proto ヘッダー(Nginx の location ディレクティブで設定)を転送します。
|
1 2 3 4 5 6 |
app.UseForwardedHeaders(new ForwardedHeadersOptions { ForwardedHeaders = ForwardedHeaders.XForwardedFor | ForwardedHeaders.XForwardedProto }); app.UseAuthentication(); |
発行
|
1 2 3 |
// 発行 // 発行するプロジェクトファイルを指定して、-o で発行先を指定。 sudo dotnet publish LinuxDeployWebApp.csproj -c Release -f netcoreapp3.1 -r linux-x64 -o /var/www/aspnetcore |
db ファイル移動
次のコマンドを実行します。
|
1 2 3 4 5 6 |
// ASP.NET Core Web App の発行先に移動 cd /var/www/aspnetcore // ディレクトリを作成 sudo mkdir db // db ファイル移動 sudo mv app.db db/ |
db ファイルを移動したので、忘れずに appsettings.json のパスを変更しておきます。
動作
次のコマンドを実行します。
|
1 2 |
// 起動 sudo dotnet LinuxDeployWebApp.dll |
ブラウザで動作
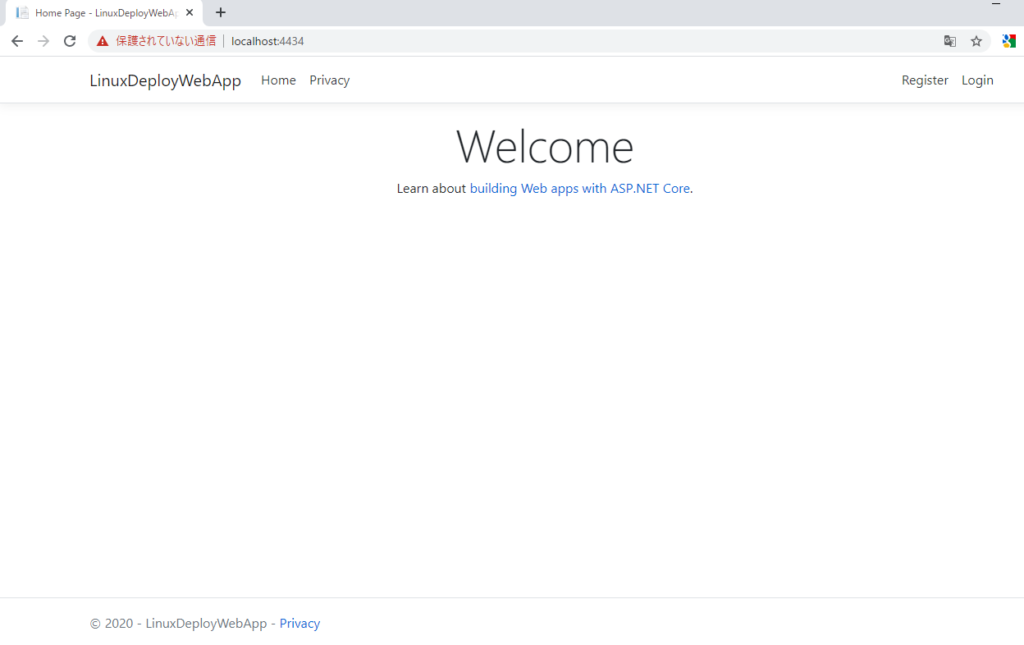
ユーザ登録時に ”SQLite Error 14: ‘unable to open database file’.” エラーが発生した場合はパーミッションエラーの可能性が高いです(今回は root 起動しているため、ないと思いますが)。db フォルダ(ジャーナルを作成するため rw が必要)、db ファイルのパーミッションをご確認ください。
curl で TLS の接続テスト
次のコマンドを実行して、TLS の接続テストをします。
TLS1.2
|
1 2 3 4 5 6 7 8 9 10 11 12 13 14 15 16 |
// TLS1.2 接続テスト curl -s -k -v --tlsv1.2 https://localhost:4434 1> /dev/null * Rebuilt URL to: https://localhost:4434/ * Trying 127.0.0.1... * TCP_NODELAY set * Connected to localhost (127.0.0.1) port 4434 (#0) * ALPN, offering h2 * ALPN, offering http/1.1 * successfully set certificate verify locations: * CAfile: /etc/ssl/certs/ca-certificates.crt CApath: /etc/ssl/certs } [5 bytes data] * (304) (OUT), TLS handshake, Client hello (1): } [512 bytes data] * (304) (IN), TLS handshake, Server hello (2): ・・・ |
SSL3.0
|
1 2 3 4 5 6 7 8 |
// TLS1.1 接続テスト curl -s -k -v --sslv3 https://localhost:4434 1> /dev/null * Rebuilt URL to: https://localhost:4434/ * Trying 127.0.0.1... * TCP_NODELAY set * Connected to localhost (127.0.0.1) port 4434 (#0) * OpenSSL was built without SSLv3 support * Closing connection 0 |
Nignxで 静的ファイルを処理
次に、Nignxで静的ファイル(ここでは CSS)を処理させるように server ディレクティブを変更します。
Nignx 設定変更
server ディレクティブ
|
1 2 3 |
location ~ ^/css/ { root /var/www/aspnetcore/wwwroot; } |
要求 URI には優先順位があります。バージョンによって違いがあるため、詳しくは下記リンクのドキュメントをご覧ください。
設定を反映
|
1 2 3 4 |
// 設定ファイルを検証 nginx -t // 強制的に Nginx に変更を反映 sudo nginx -s reload |
ログを確認
ログ(NLog)に、’/css/site.css’ の出力がなければ OK です。一方、’/js/site.js’ は出力されているはずです。
今回は WSL Ubuntu 環境下で ASP.NET Core App に要求を転送するように Nginx をリバースプロキシサーバーとして設定してみました。プロダクションでは、しっかり権限、セキュリティ対策をしましょう。
